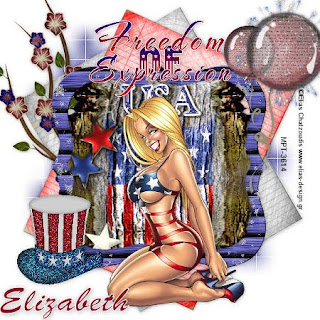
This tutorial was written by Elizabeth on 03.07.2010 using psp 9.
Any similarities to any other tutorial is purley coincidental.
This tutorial is for those with a working knowledge of psp.
~~~~~~~
Awesome kit from Jessica of Gothic Inspirations.
Wsl mask 84 from here open and minimise.
Tube of choice i used one from mpt.
Font of choice i used Brush Script.
Dropshadow 1,1,100,10, black, dropshadow as you go.
Remember to save often.
Use my tag for element placement.
~~~~~~~
Ok grab that coffee, and munchies and lets start.
~~~~~~~
New image 600x600 flood fill white.
Open paper 2 > resize by 75% > c/p.
Layers > new mask > wsl mask 84 > apply > ok.
Layers > merge group.
~~~~~~~
Open frame 2 > resize by 55% > c/p.
Open wordart > resize by 35% > c/p.
Open hat > resize by 10% > c/p.
Open balloon > resize by 45% > c/p.
Open paper > resize by 65% > rotate 30 left.
Click on your change to target tool(its above the eraser),
Choose a nice colour i chose blue > click your mouse all over
paper> c/p > do the same to a second paper but change rotate
25 right.
Highlight frame layer > click on frame > selections modify
>expand by 10 > c/p sign > resize by 75% > selections >
invert > delete > selections > select none.
Open bubble > resize by by 35% > c/p > place over balloon.
Duplicate > resize by 30% > place over second balloon.
Open fireworks 2 > resize by 35% > c/p.
Open flower > resize by 65% > rotate 65 right > c/p.
~~~~~~~~
Layers > merge visible > resize by 75%.
Layers > new raster layer.
Add your copyright and license number.
Layers > merge visible.
Layers > new raster layer.
Add your name.
Layers > merge visible.
~~~~~~~
That's it you are done, i hope you enjoyed this tutorial.
Elizabeth x.


No comments:
Post a Comment