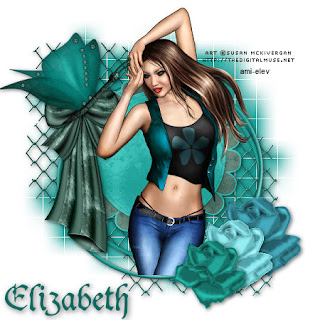
This tutorial was written by Elizabeth on 21/02/2010 using psp9.
Any similarities to any other tutorial is purley coincidental.
This tutorial is written for those with a working knowledge of psp.
Beautiful ftu kit from here
Wsl mask from 84 here open and minimise for now.
Tube i used a tube from ami here you must have a licence to use this art.
Font of choice i used dukeplus sorry no link.
Dropshadow 2,2,58,11, black, dropshadow as you go.
A beautiful colour to work with. ok grab your coffee, and let's begin.
New image 600x600 flood fill white>new raster layer>flood fill from a colour element>
Layers>new mask>apply>ok.
1> Open element 19 > c/p > center.
2> Open element 64 > c/p > center.
3> Open element 24 > resize by 37% > c/p > move bottom right.
4> Open element 23 > resize by 33% > c/p > move in front of first flower.
5> Open element 25 > resize by 29% > c/p > move in front of second flower.
6> Open element 49 > resize by 75% > image free rotate 33% right> c/p >
duplicate>merge down> move top left.
7> Open element 58> resize by 67% > c/p > move below butterfly.
8> Open your tube > c/p > you may need to resize to fit.
9 > Layers merge visable > resize by 75%.
10> Add your copyright > licence number> layers merge visable.
11> New raster layer > add your name> merge visable.
Thats it you are done, i hope you enjoyed this tutorial, Elizabeth.

No comments:
Post a Comment