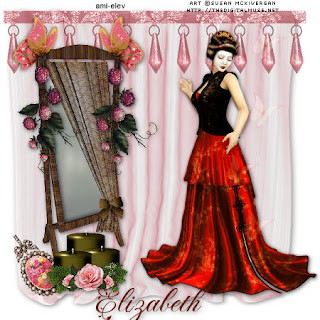
This tutorial was written by Elizabeth on 22/02/2010 using psp9.
Any similarities to any other tutorial is purley coincicental.
This tutorial is written for those with a working knowledge of psp.
Stunning kit from here
Font of choise i used Fleurdeleah sorry no link.
Dropshadow of choice.
Tube of choise i used one from ami, you must have a licence to use this art.
Ok grab your coffee, and lets begin.
Its not a very nice day its snowing again, just a day for psping.
New image 600x600 flood fill white
1> Open curtain 1 >c/p > with your deform tool stretch the curtain untill it nearly fits image.
2> Open butterfly 6 >resize by 23 %> c/p > change opacity to 54> c/p these all over the curtain.
3> Open mirror> resize by 75% >c/p> move to the left.
4> Open berrybranch >free rotate 90% left> resize by 33% >c/p > place left side of mirror>
duplicate>mirror.
5> Open butterfly 5 > resize by 33% >c/p > place above berrybranch>duplicate>mirror.
6> Open Broach > free rotate 33%right >resize by 33% > c/p >place bottom of mirror.
7>Open candel 2 >resize by 45% >c/p > place it in front of broach.
8>Open dangle 1 >resize by 45% >reduce opacity to 50> c/p>move it top of curtain.
9>Open your tube and place so looks good.
10> Layers merge visable >resize by 75%.
11>New raster layer >add your copyright and your licence number>merge visable.
12>new raster layer >add your name>layers merge visable.
Thats it you are done, 12 steps to make a beautiful tag, i hope you enjoyed this tutorial.
Elizabeth

No comments:
Post a Comment