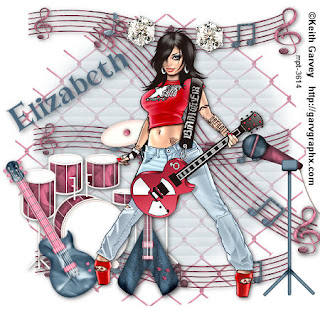
This tutorial was written by Elizabeth on 07/02/2010 using psp9.
Any similarities to any other tutorial is purley coincidental.
This tutorial is written for those with a working knowledge of psp.
Awesome kit from here
Mask here Open and minimise mask 107 for now.
Font of choise
Tube of choise the one i used you must have a licence to use. (mpt)
Dropshadow> 1,1,58,11,black. dropshadow as you go.
Open new image 600x600 flood fill white >new raster>pick a colour from
one of the elements>flood fill>new mask>apply mask>ok.
Open element 39> resize by 70%>c/p move it below your mask>change visability to 60.
Open element 11>resize by 70% move to top of image>duplicate>move to center>
duplicate>move to bottom>duplicate>free rotate by 45%>move as my tag.
Open element 8 >resize by 60%>c/p move to bottom left.
Open element 1>resize by 60%>free rotate>by 30% left>c/p in front of drums.
Open element 4>resize by 60%>c/p move in front of drums.
Open element 6>image mirror>c/pbottom right.
Open element 12>c/p this element as often as you like.
Open element 45>resize by 60%>c/p place on top bar>duplicate>mirror.
Layers merge visable>resize by 75%.
New raster layer add your copyright>add your licence number.
Merge visable>new raster layer>add your name( i gave my name a dropshadow>then inner bevel>merge visable.
Thats it you are done. I hope you enjoyed this tutorial. Elizabeth

No comments:
Post a Comment